 With summer in full sweltering session, CF3's August coffee chat took us to Amberley Village, a local suburb of Cincinnati loaded with great Mid Century Moderns. The Friedman Residence is a very modest house cared for with meticulous maintenance by its current owners. The home is also slated to be featured in an upcoming issue of Atomic Ranch magazine.
 The house has a typical low pitched roof from street side, yet the roof partially zig zags to butterfly along the back of the house. Similar to our house, one walks into the compressed area only to have a nice release of space of the main living and dining areas. The large expanse of glass across the back of the house emphasizes the open space.
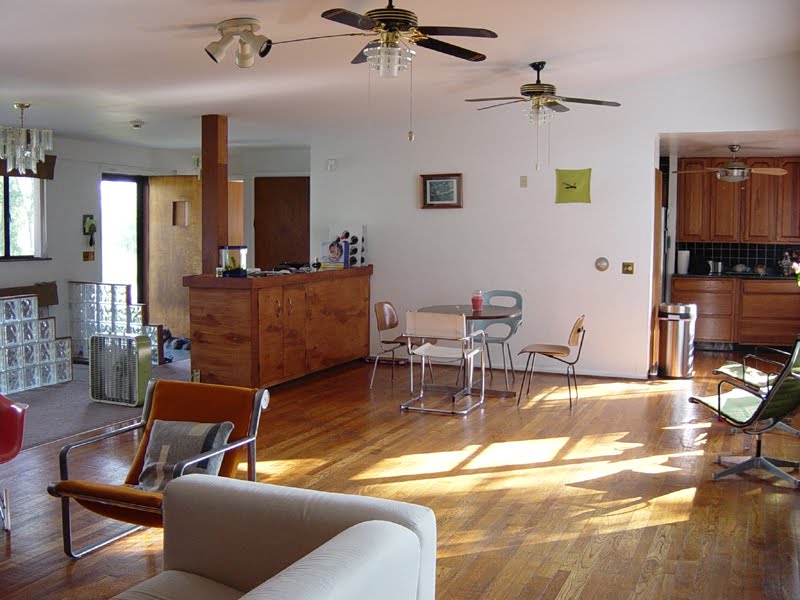
 Inside the living space, it's obvious why Atomic Ranch is featuring the house, the original details are immaculate. A large brick fireplace anchors the large open area complemented by a recessed bullet light and Nelson Pear lamps beyond. The layout of the furniture is precise and cohesive, providing a very functional and open space.
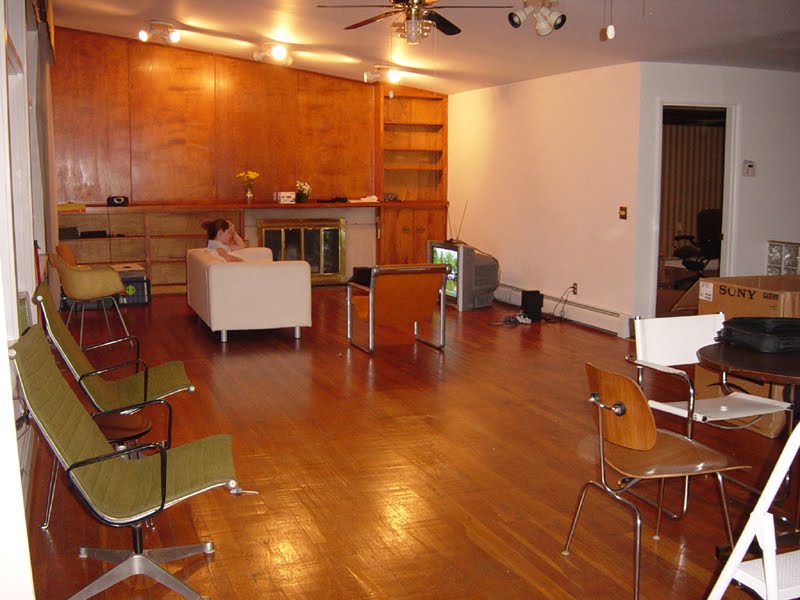
 A photo of the aforementioned fireplace up close. The roman brick wall and hearth are accented with different masonry patterns and limestone banding to create an asymmetrical composition. A built-in planter has been converted to a bench on one side and a Frank Lloyd Wright designed Sprite on the other.
 A couple of super sweet freestanding Danish lights are at one end of the living / dining area. Newer cork floors keep it crisp.
 I wish I had taken some photos of the original bathrooms, but I did grab a couple of the ultra 50's kitchen, almost perfectly in tact. The upper cabinets are outwardly profile with linear frosted glass doors are backlit. Underneath, Boomerang Formica counters are edged in stainless and cap base metal cabinets complete with the recessed door profile. It's not often to see these cabinets, let alone in such a great intact setup.
These cabinets deck out the entire kitchen. In this photo you can barely see the Nutone exhaust fan on the ceiling at the top of the photo, at the bottom a glimpse of the retro stove. Be sure to look for some more photos of the house in an upcoming issue of Atomic Ranch magazine.


 This weekend, yours truly gets to represent Cincinnati in Columbus Indiana on a special tour organized for architecture and design bloggers from around the country. This includes a sneak peek at


